After three years of daily usage, the battery of my Samsung Note 10.1 came to a point where it would not re-charge.
Since I still really like my note 10.1 and could not find an (affordable) replacement, I decided to order a new battery and try to replace it myself.
As a ‘dummy’, it was a little nerve-racking, but I managed after all.
I ordered mine at a Dutch webshop, but you should be able to find it when you search for ‘Samsung note 10.1 battery replacement’.
With the kit
- Battery
- Screw driver
- Special tool for opening the back part.
The procedure:
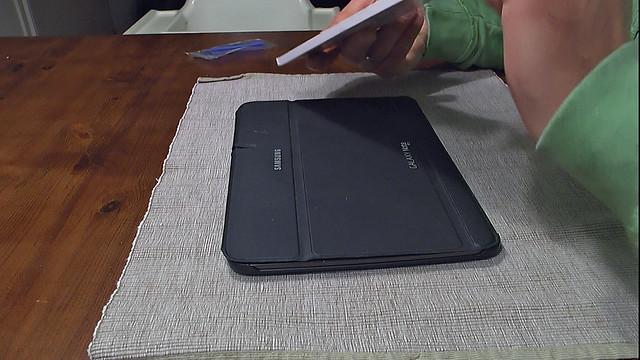
- Remove cover (if you have one)
- Remove stylus
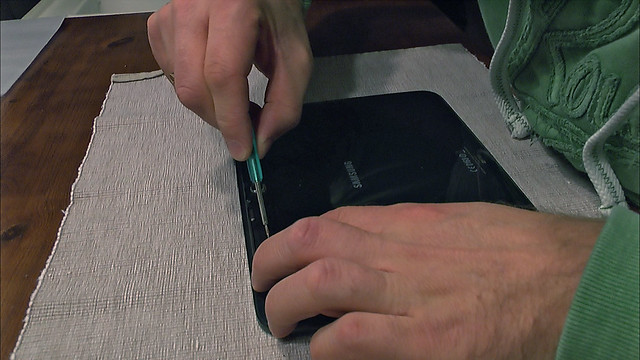
- Use special tool (comes with the kit) to remove the silver fringe.
Samsung used some sticky stuff, so this was somewhat hard. You might notice a little damage on the edge of the body.
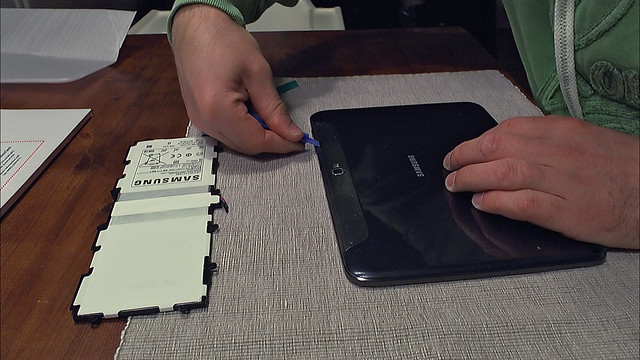
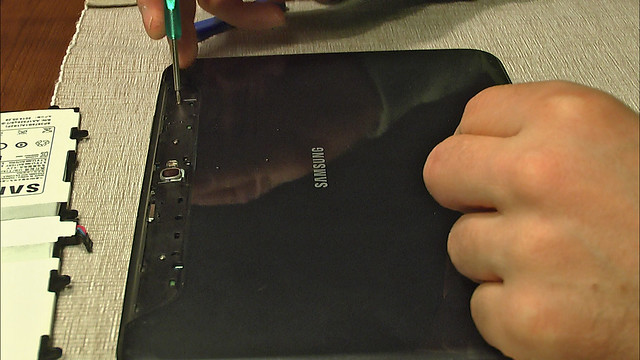
- Remove the three little screws.
One of the seemed loose already, maybe this was caused by the sticky stuff on the back of the fringe.
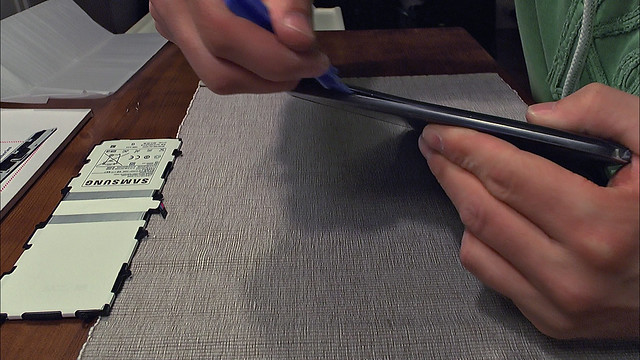
- Now use the special tool again to remove the back cover of the tablet. (be gentle!!)
The upper corners proved to be rather stubborn, but it was not that hard.
Also you might see a little damage on the edge of the body as you push the tool between the body and the back part.
- Now you see the inner part of the tablet and you have to lift the connector latches (I used the special tool again).
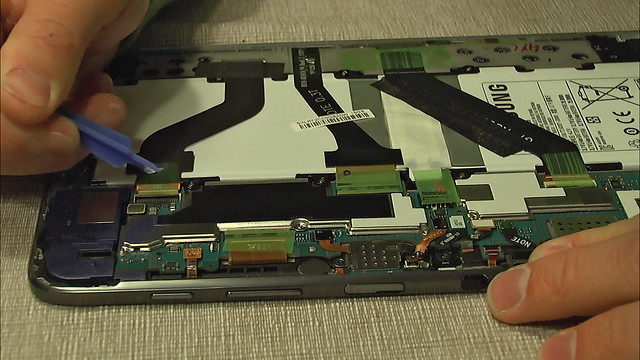
- There was some tape covering some of the connectors, so I removed that too.
- Also there was some black tape on one of the ribbon cables that had to be removed.
- Now remove the ribbon cables from their connectors (gently) and disconnect the old battery.
This connector needed more power to get loose.
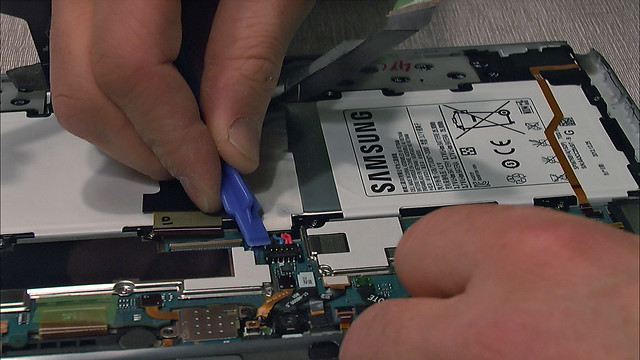
- Now you can unscrew the battery’s ten screws and get the old battery out of the body.
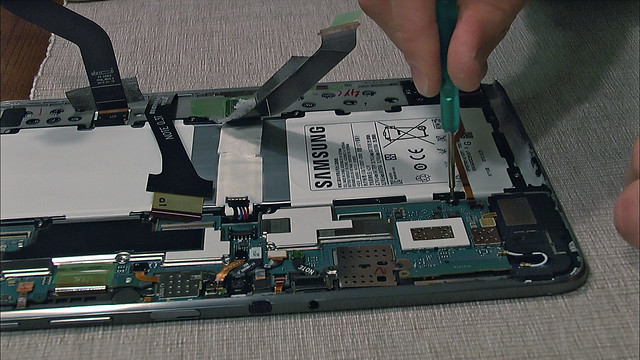
- Put the new battery in place and make sure the screw holes align.
I had to push the new battery in gently as it was a tight fit.
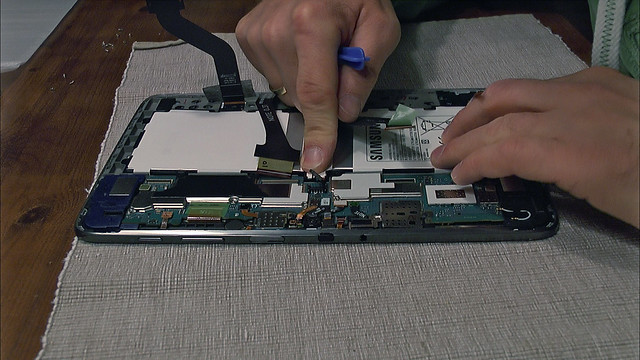
- Fix the new battery with the ten screws.
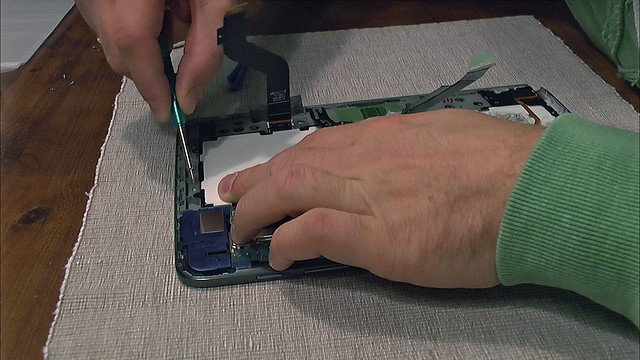
- Reconnect the ribbon cables and close the latches.
With the small cable, I used the tool to get it in the right position.
There are lines on the cable and body showing how far you have to insert the cables.
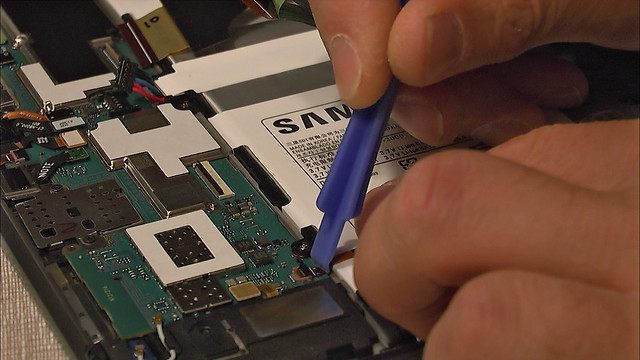
- I also put the tape back on the connectors.
- Reconnect the battery.
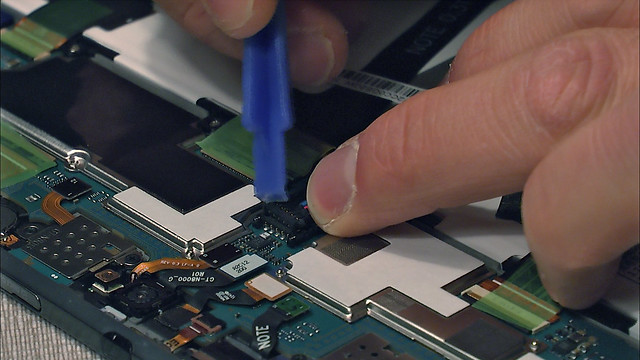
- Check all the connections (also the ones you did not touch), in my case one of the (I think) speaker connectors got loose.
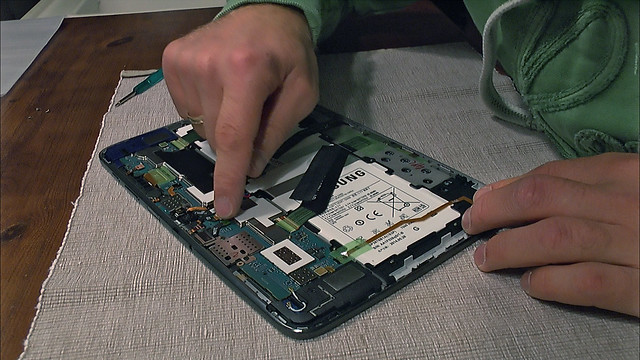
- Snap the back cover in place, starting with the underside and use some (gentle) force on all sides to get it back into position.
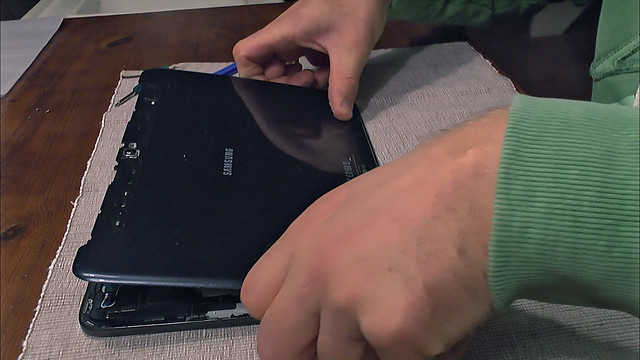
- Fix the upper part with the three screws and return the silver fringe with some (gentle) force.
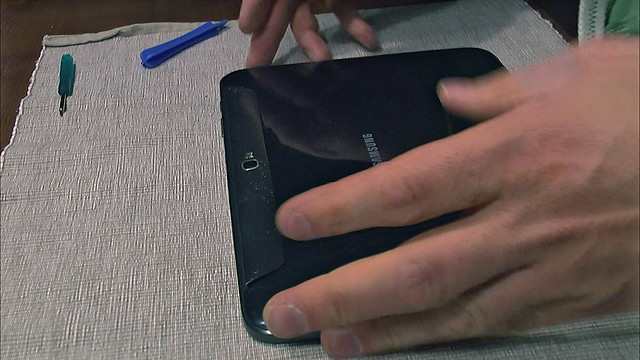
- Replace the stylus and test if the tablet will start and functions as it should.
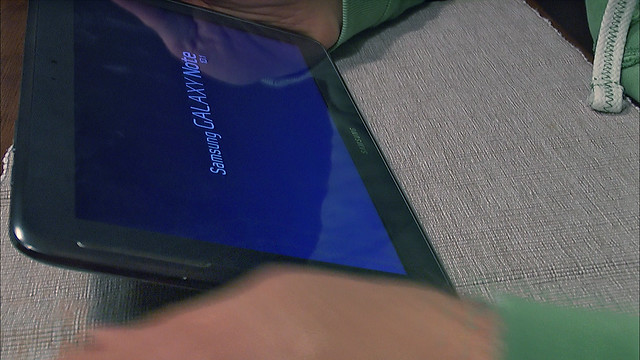
- Charge the new battery before using it any further.
Check https://www.youtube.com/watch?v=-p0OstakoMw for the video
Conclusion
It was my first experience with such a task and it turned out it was not that hard.
My Samsung Note 10.1 now again has good battery life and is ready for its second life!

Looks OK, do you have to save any of your stuff first before you disconnect the battery.
Thanks
Just shut it down.
Otherwise you are ok.